|
| This entire 1812 Russian retreat game will all be based on snow bases. I'll just start at the beginning: DAY ONE: First I clean, then Zap a Gap figures to appropriately sized fender washers. These happen to be an inch across. DAY TWO: Then before I add anything other than the fig to the bases, I wash these in hot soapy water with an old toothbrush to clean off mould release powder and any grease that accumulated -washers too. |
 |
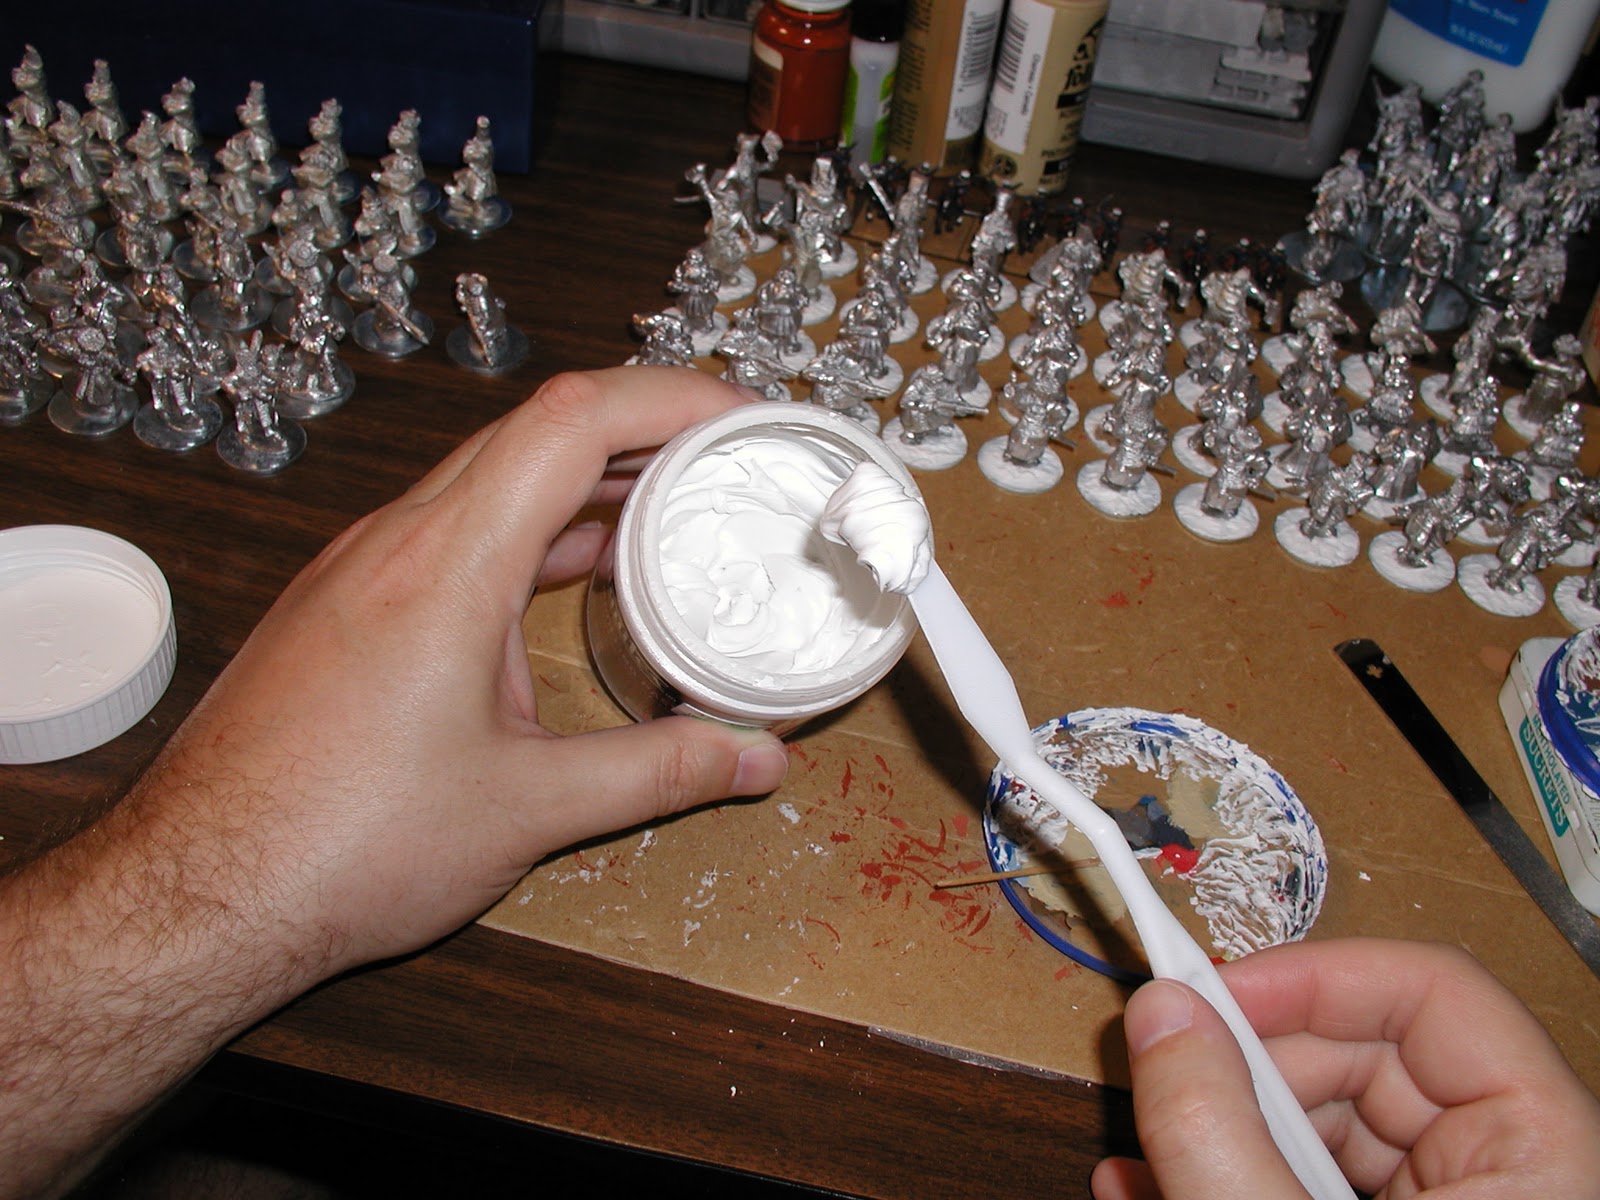
| DAY THREE: I've used all these at one time or another but for this particular project I used the Liquitex at left because it's grit free and smooth. |
 |
| With an old putty knife I apply to what was once a lid for Dannon Yogurt. When they are new I use them for paint palettes as the plastic repels paint nicely. But over time they get transferred to putty and glue palettes as seen here. |
 |
| With a wet toothpick I apply it around the model. It's helpful to have water in a small container around to keep your present material soft and spreadable. I just use a spritzer bottle and apply it to the other end of the palette and mix it in when needed. |
 |
| For these and the celebrating Cossacks I went and leveled it down but I suppose for future figs in this series I should let it pile up instead of tapering it down to the edge. Snow should be the highest spot on the base not the mud which I had to reverse later. |
 |
| When all this dries I'll prime it black on DAY FOUR. |
 |
| After painting the figs DAY FIVE but before sealing them I'll assemble the materials seen above. |
 |
| Burnt Umber goes down as a basecoat followed by a coarse drybrush of White - any white will do. I did do a test model with a light blue gray trying to get an icy colored base to work with but I found the snow material - unless applied in many many many coats - simply does not cover it well and always looked gray rather than snow white. |
 |
I prefer the edges to be a bit cleaner to 1) match the table material and 2) show these guys are probably dancing mostly in place and will have kicked up the snow they are standing directly on. So unless there was a really deep crease I painted the outer edges a good solid white making sure to obscure entirely the Burnt Umber underneath. On DAY SIX I did my usual seal routine: one coat of Testor's gloss, two coats of Dullcote.
|
DAY SEVEN: Missing an image here but now that the figures have a flat dull cote on them I use that Vallejo Gloss and paint all the little pits of Burnt Umber under the white to give the illusion of wet mud underneath the snow. I left the white alone as I'm going to cover it later.
|
|
|
 |
| Out comes the PVA, toothpicks and old palettes again ... |
 |
| I use the Woodlands Scenics stuff but mostly because I've had it for years poured out into a wider mouthed container. |
 |
| DAY EIGHT: Bah, I'm missing a couple pics here but they don't ultimately look much different. Basically I apply white glue to all the white areas and dip it into the snow material. It's ok to be sloppy - just leave plenty of that glossy brown showing through between the white, DAY NINE: After that's dried I go back to that Burnt Umber color and thin it WAY down - maybe 10:1 water to paint and apply that thinned material near the biggest brown areas under the feet. Don't be startled but the surrounding snow material will quickly absorb and then stain itself everywhere - especially in places you wouldn't want. I wanted it to discolor only the snow under the feet where they were landing but it spread out to the edges in some places. Just apply it very carefully and don't have too much of that water on your brush. |
 |
| DAY TEN: To fix that unwanted brown stained snow on the edges I mixed together PVA, White paint and a bit of water and applied that to all the highest piles on each base making sure to get the edges covered pretty solidly. Dip that again in the snow material. I didn't bother much with the area under the feet again as the random discolorations looked perfect to me - just the highest spots that were left untrampled. |
 |
| That pretty well covers it - during the tests I had to go over the brown snow repeatedly as the the snow doesn't effectively cover it without the addition of white paint to the glue. |
Hopefully this will help a bit - I looked at tons of pics of wintry, slushy and snowy roads and this came out basically how I saw it though I had to make modifications as I went along. In future, every application of snow will be held down with the white paint and white glue mix rather than the white glue on its own.
Thanks for looking - Questions, comments and followers are welcome!