 |
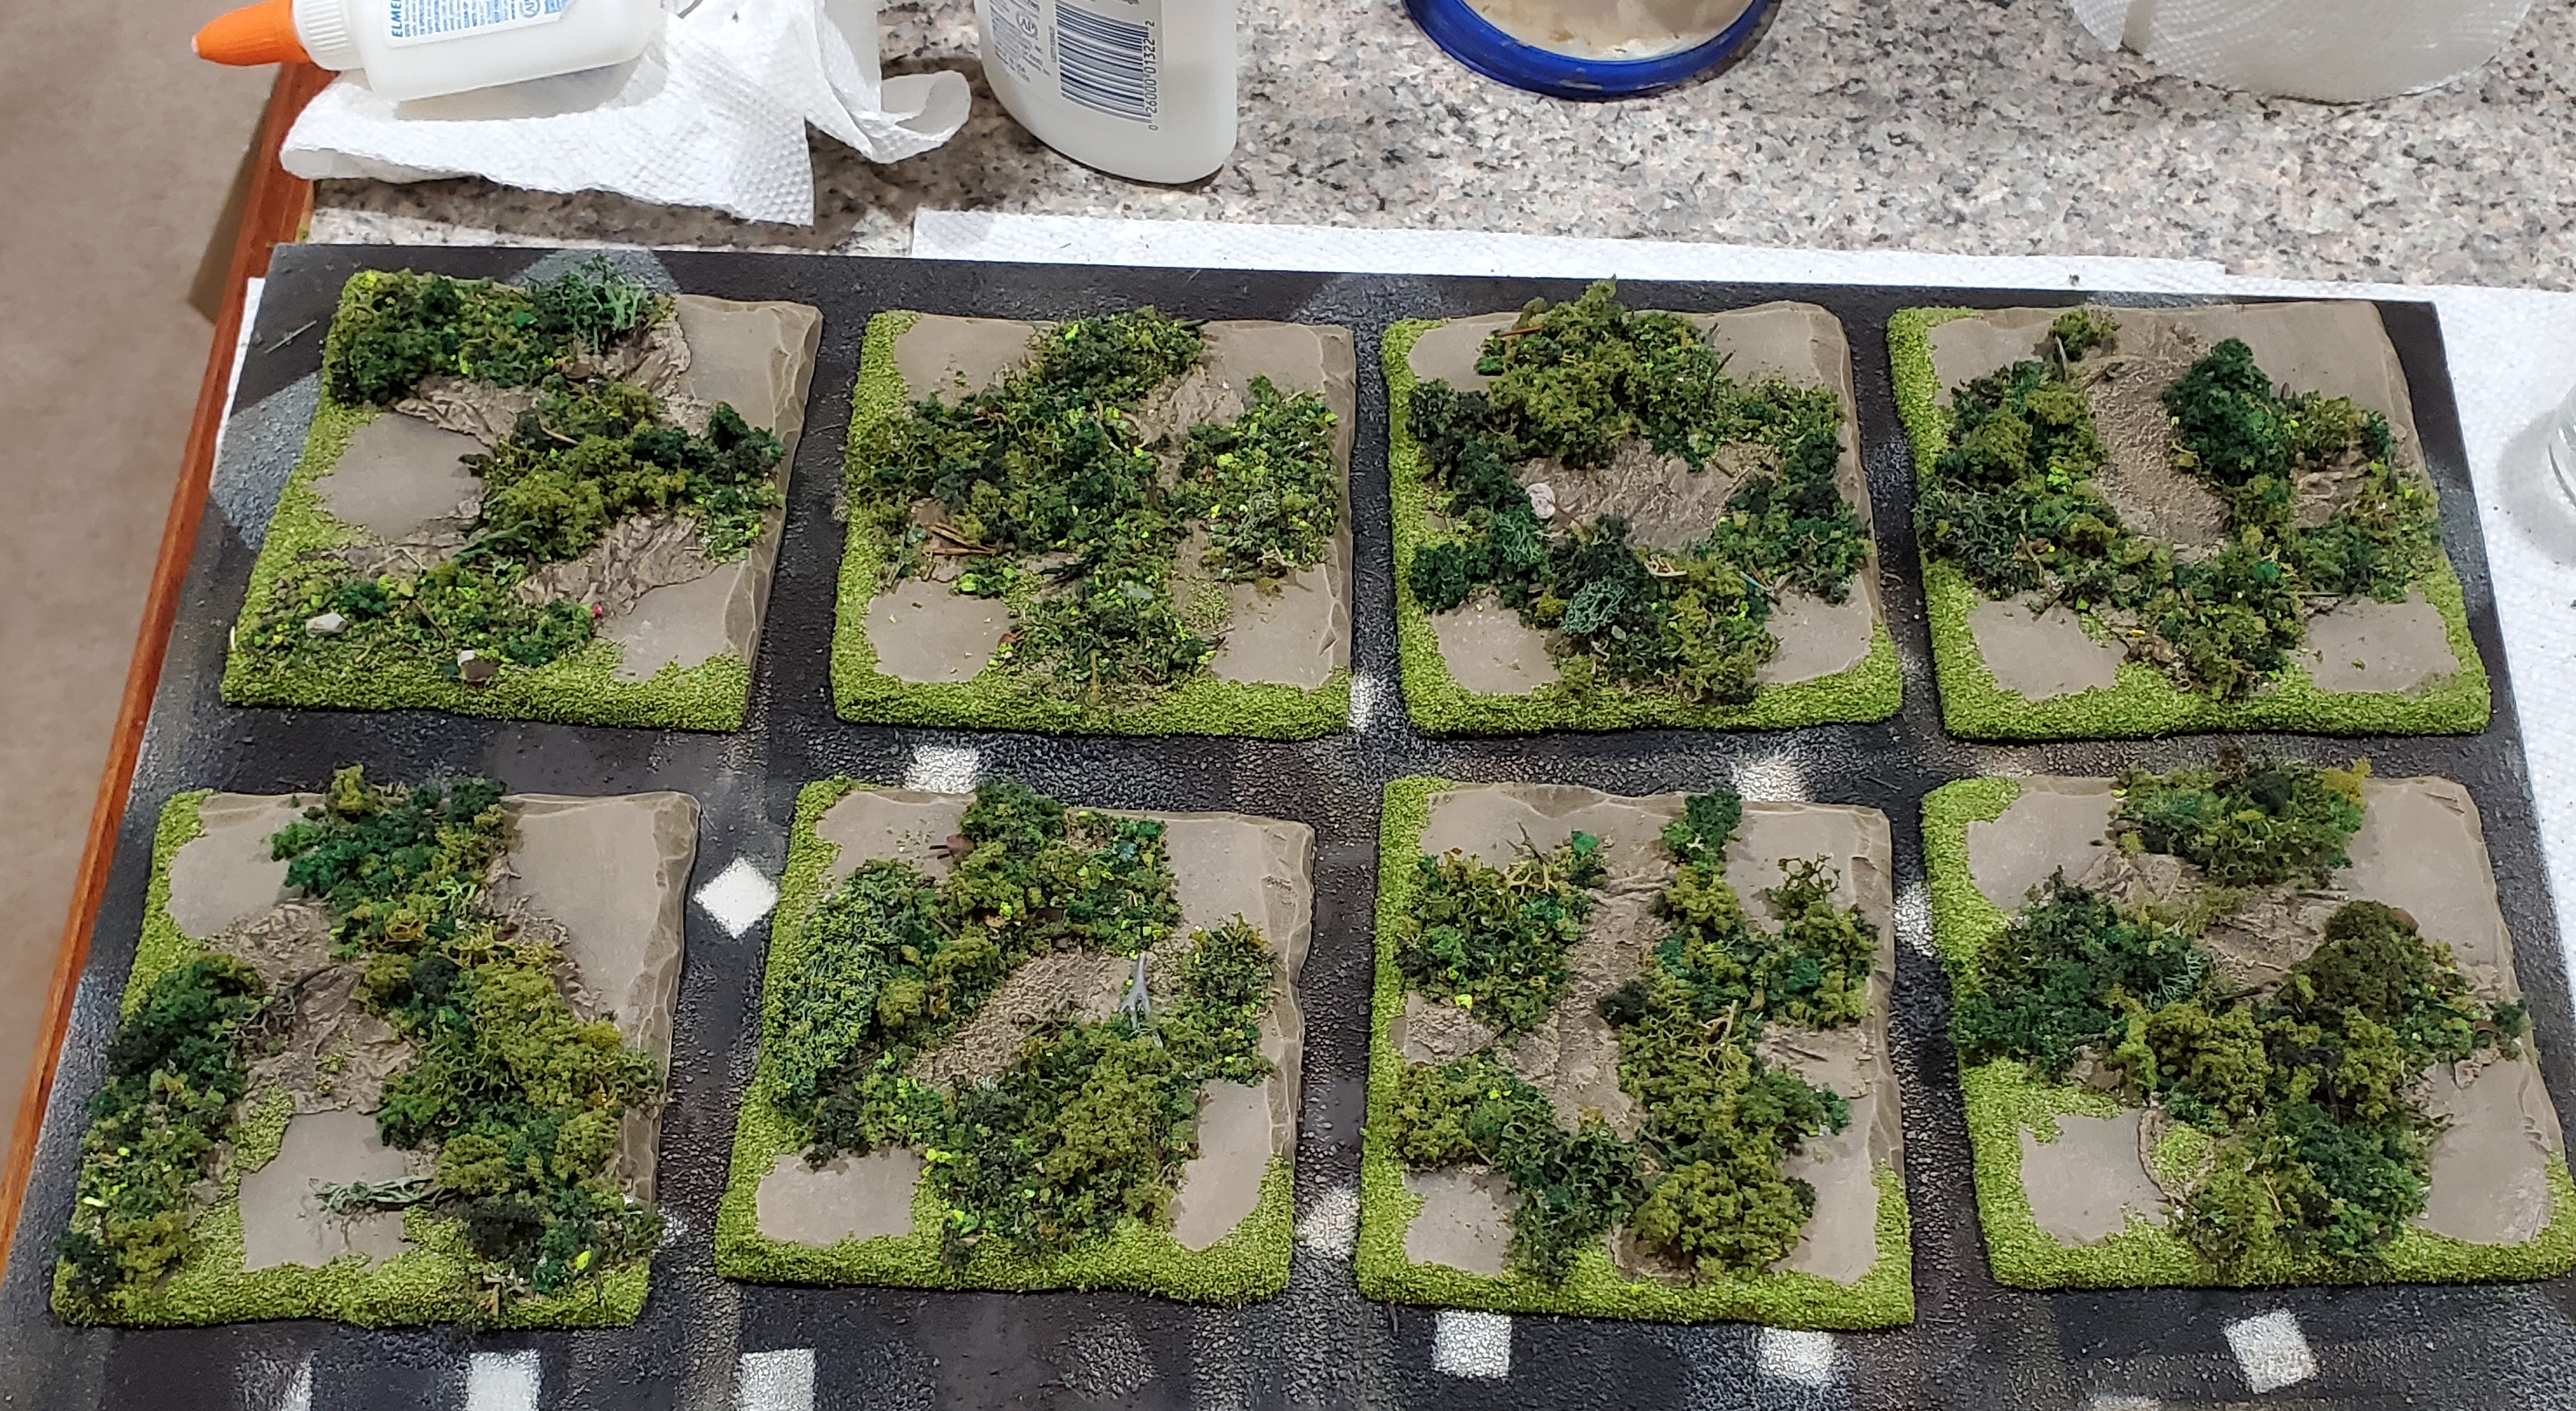
Just before I flocked the bases
|
Back when the selection of scenery was far more limited than it is now, Old Glory/West Wind created a cemetery set that included fences, a gate and half a dozen large crypts/mausoleums, intended for it's Gothic Horror game Vampire Wars -- the "horror" entry in their "Quality Dice" system.
The internet wasn't particularly kind to the rules but the figures, as are all figures from West Wind and Old Glory, are rotten with charm and character and this blog celebrates them every chance I get. This entry though is about my build of the fencing/gate portions. I built mine to be 12"x18" of fenced in area. Not big enough to even enclose all the mausoleums!
The "kit" is kinda slapdash and needed a lot of attention to get it all to work. the lengths of fence fit awkwardly in their textured base they come with and the ends don't look all that great next to each other when connected up. As a general rule, I hate tiny lengths of walling/fencing. Too many gaps and gaming bumps break up the lengths in unpleasant ways for me - it took me a while to actually figure out how long of lengths I can get away with while still having some configuration options. Did I need to build corner pieces? How many columns would I need to make sure the corners would square up in a least a few different ways? Tons of questions delayed the build and I futzed about longer than necessary.
In the end, it's not perfect and as much as I would have liked a column to cap lengths I couldn't get it to work out perfectly. That said it's a pretty minor issue so I'll ignore it if you will. On to the pics!
 |
Washed, de-flashed, spikes filed sharp. I felt like Gomez Addams at that last stage.
|
 |
The gate piece was a conundrum from the beginning - it was going to have to match the lengths of the others or every rectangle cemetery would be trapezoidal in shape. Lots of measuring, trial and error fitting stuff together with columns here, columns there, asymmetrical or no? The gate also has no hinges I couldn't just have the bars abut against the support columns so I had to engineer the hinges to allow for the possibility that the gates actually opened at some point. That actually helped me make up a couple millimeters as I used wooden squares as iron mounts upon which I cut strips of plasticard to make hinges, this gave it the illusion of utility as well as the strips wrapped around the end bar and connected to the column.
|
 |
I had a 3' length of very light balsa I cut into lengths then scored the stones in as I've seen so many YouTubers do in recent months to shape the stones in their walls.
|
 |
I was rough on the balsa and left gouges in the ends. So in the Michael's leather crafting sections I picked up what would be the toppers for the columns to give them a nice finish.
|
 |
This was the worst part - cutting the gd lengths of basing from sheets of black plasticard. Measuring these and cutting them correctly was not fun and then I decided I'd have to have one piece corners or this thing would never hang together properly.
|
 |
This looks like it was easy, but I'm an English major and came close to failing math all my life.
|
 |
Sigh of relief, I was able to get four good corner bases cut out. I had planned it out accurately after all.
|
 |
The pillars needed the wood grain beat out of them so, yes, the old ball of tin foil trick. The balsa was soft so took the rough handling mostly well. Some sides were more 'textured" than others so imperfect sides were turned inwards ...
|
 |
... and the assembly can begin. Impatient, I squished the studs into the tops with a little too much abandon. That's e6000 Crafting Adhesive to glue it all together with. Getting black plasticard, black adhesive and finally black railway ballast ("coal") saved me in the long term as I was going to prime the lot black. May as well get those underparts dark to begin with. You can see there are two types of fence - one that has end pieces and the other is open. That was part of the difficulty in planning as I wanted to use every single piece I had, and they all had to never have two identical parts next to each other AND they had to have a column in between each for stability and to get the pieces to be if identical length.
|
 |
Corners needed to be slightly more special. Stone caps with gargoyles form the bitz box. I thought about stone globes that Reaper also makes but decided against them as being too earthly and contemporary.
|
 |
Coming together
|
 |
The final puzzle I alluded to above: getting the gate piece spaced properly and making sure it appeared to be capable of opening.
|
 |
Little wooden risers hold the gate, centering it in the pair of columns. I do regret using these two imperial style winged griffons for the gate columns. Should have kept them gargoyles like the corner pieces. Corners columns are thicker than the length ones which added to the measuring difficulties.
|
 |
Checking set ups - satisfaction! On to priming and painting!
|
 |
I looked at too many graveyards and cemetery images to come up with the painting scheme then neglected to photograph much of any of my process.
|
 |
Needless to say - the look for the iron was "wrought" but also long abandoned. Rust? Verdigris? Metallic colors poking through? Yes. No and no. I got the look I wanted. Craft store "wrought iron" paints, gray dry brushing, Rust washes, more dry brushing, corrosion technical paint from Citadel little this, that here, there. Decay? I think so. Stones, same techniques, different palate: shades of gray, bright highlights, washes, light green dry brush at base, more washes, more highlights. Obviously wooden columns and not stone? I don't think so. Seems like chipped uneven stones to me.
|
 |
I found a spot for my verdigris!
|
 |
My sins exposed!
|
 |
Another unseemly join! Time to flock and finish!
|
 |
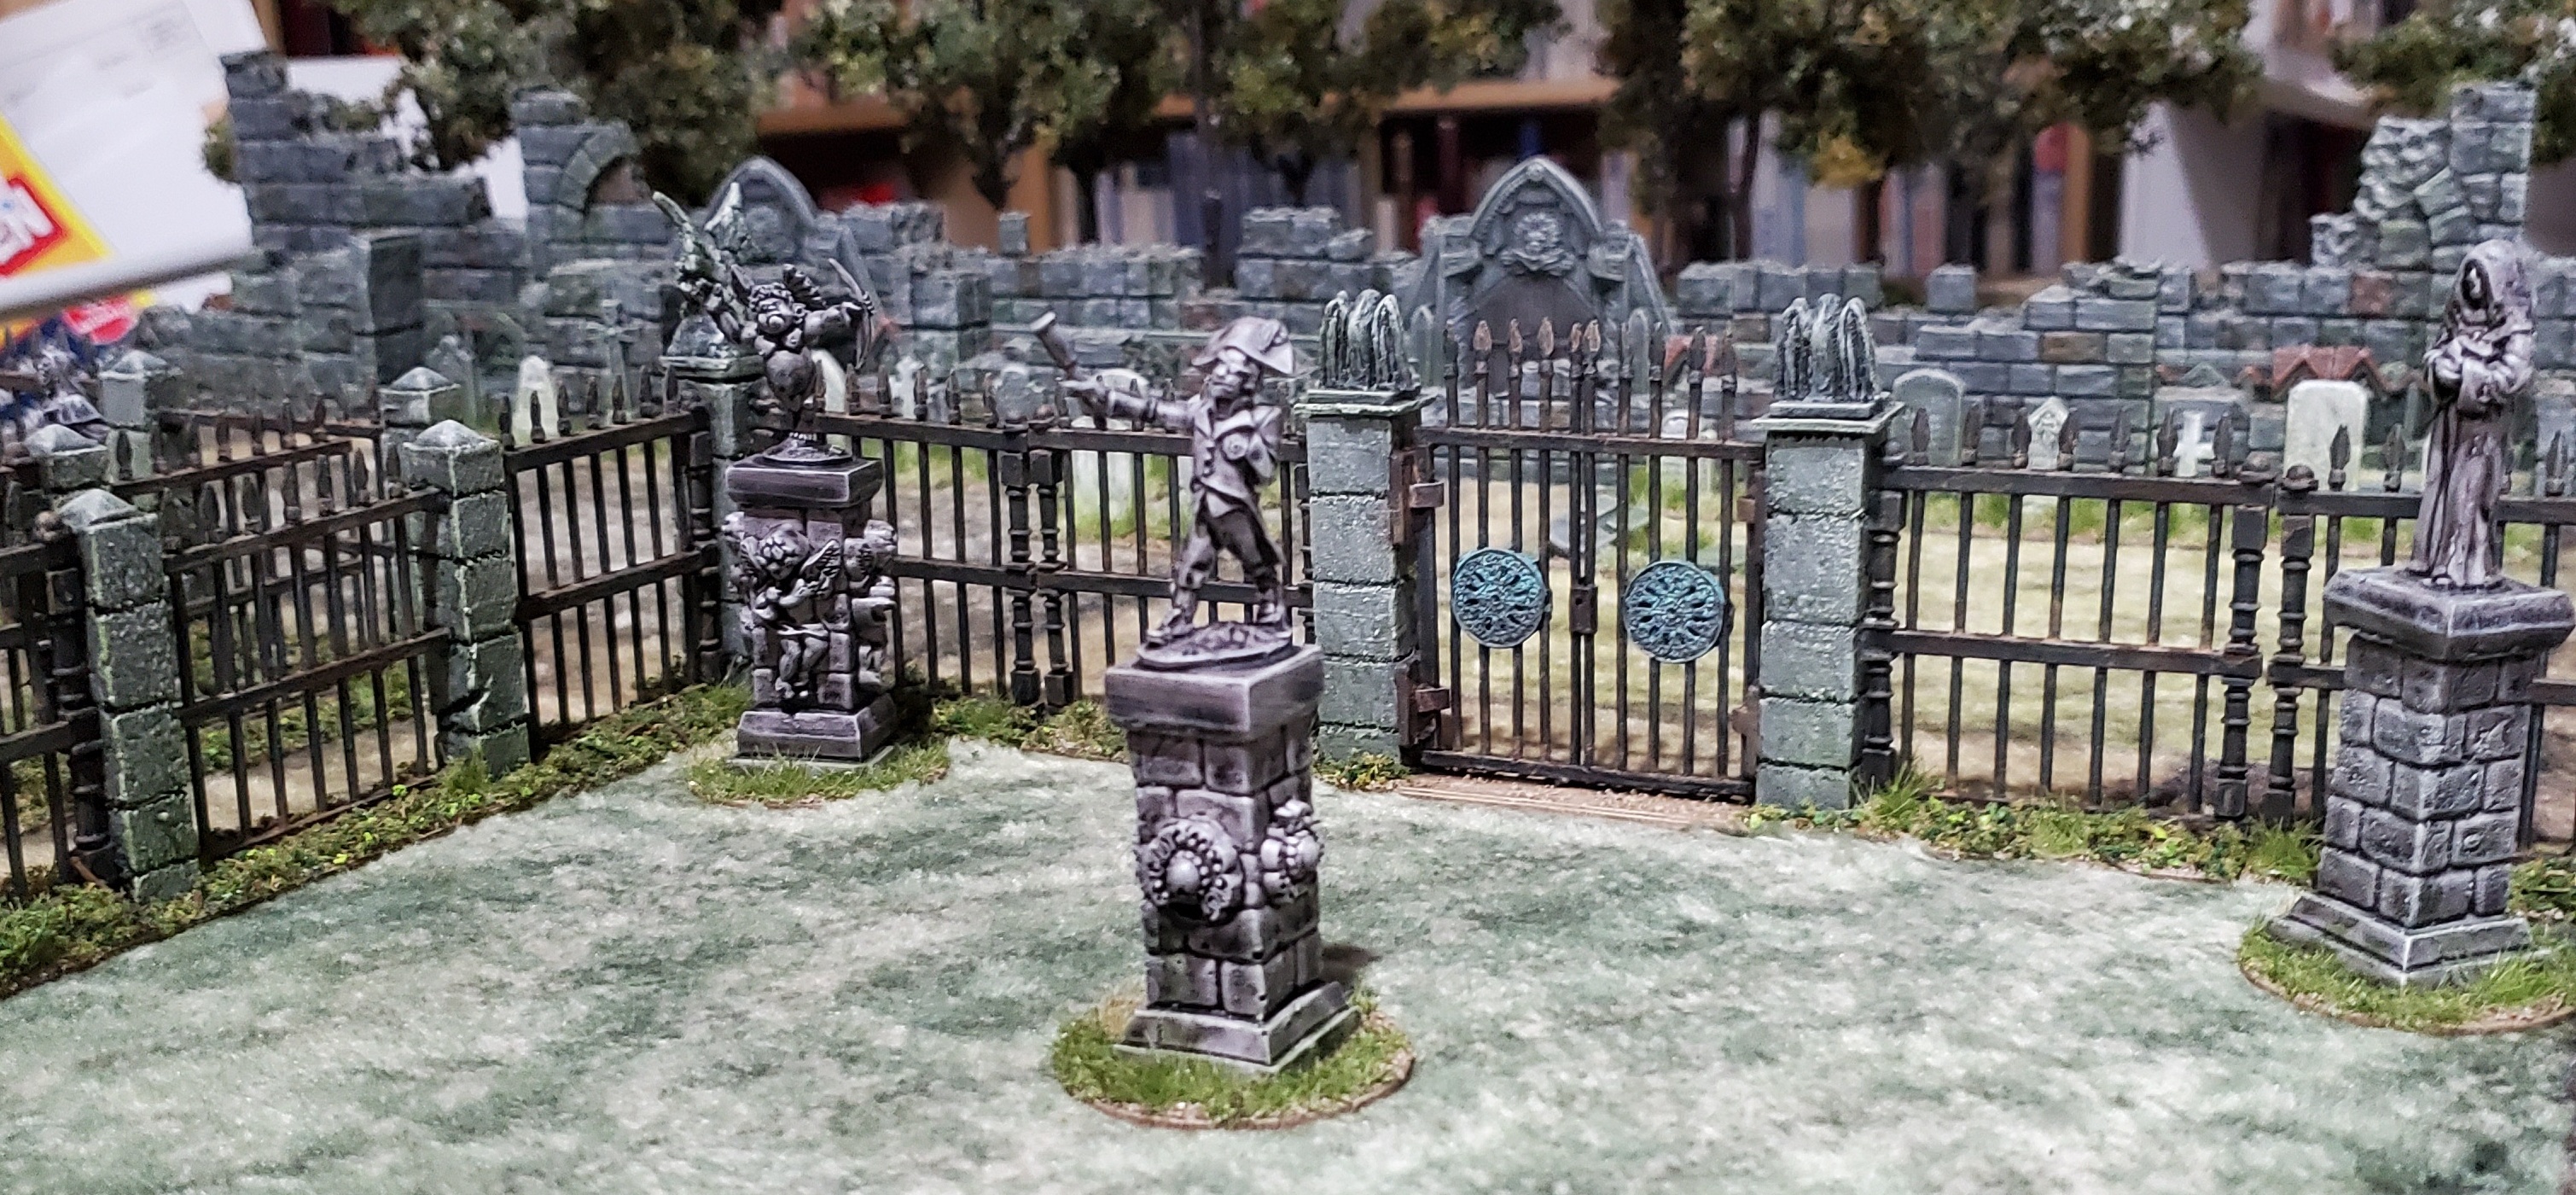
Super happy with the end results. Rando models atop resin pillars designed for just this purpose. Origins unknown.
|
 |
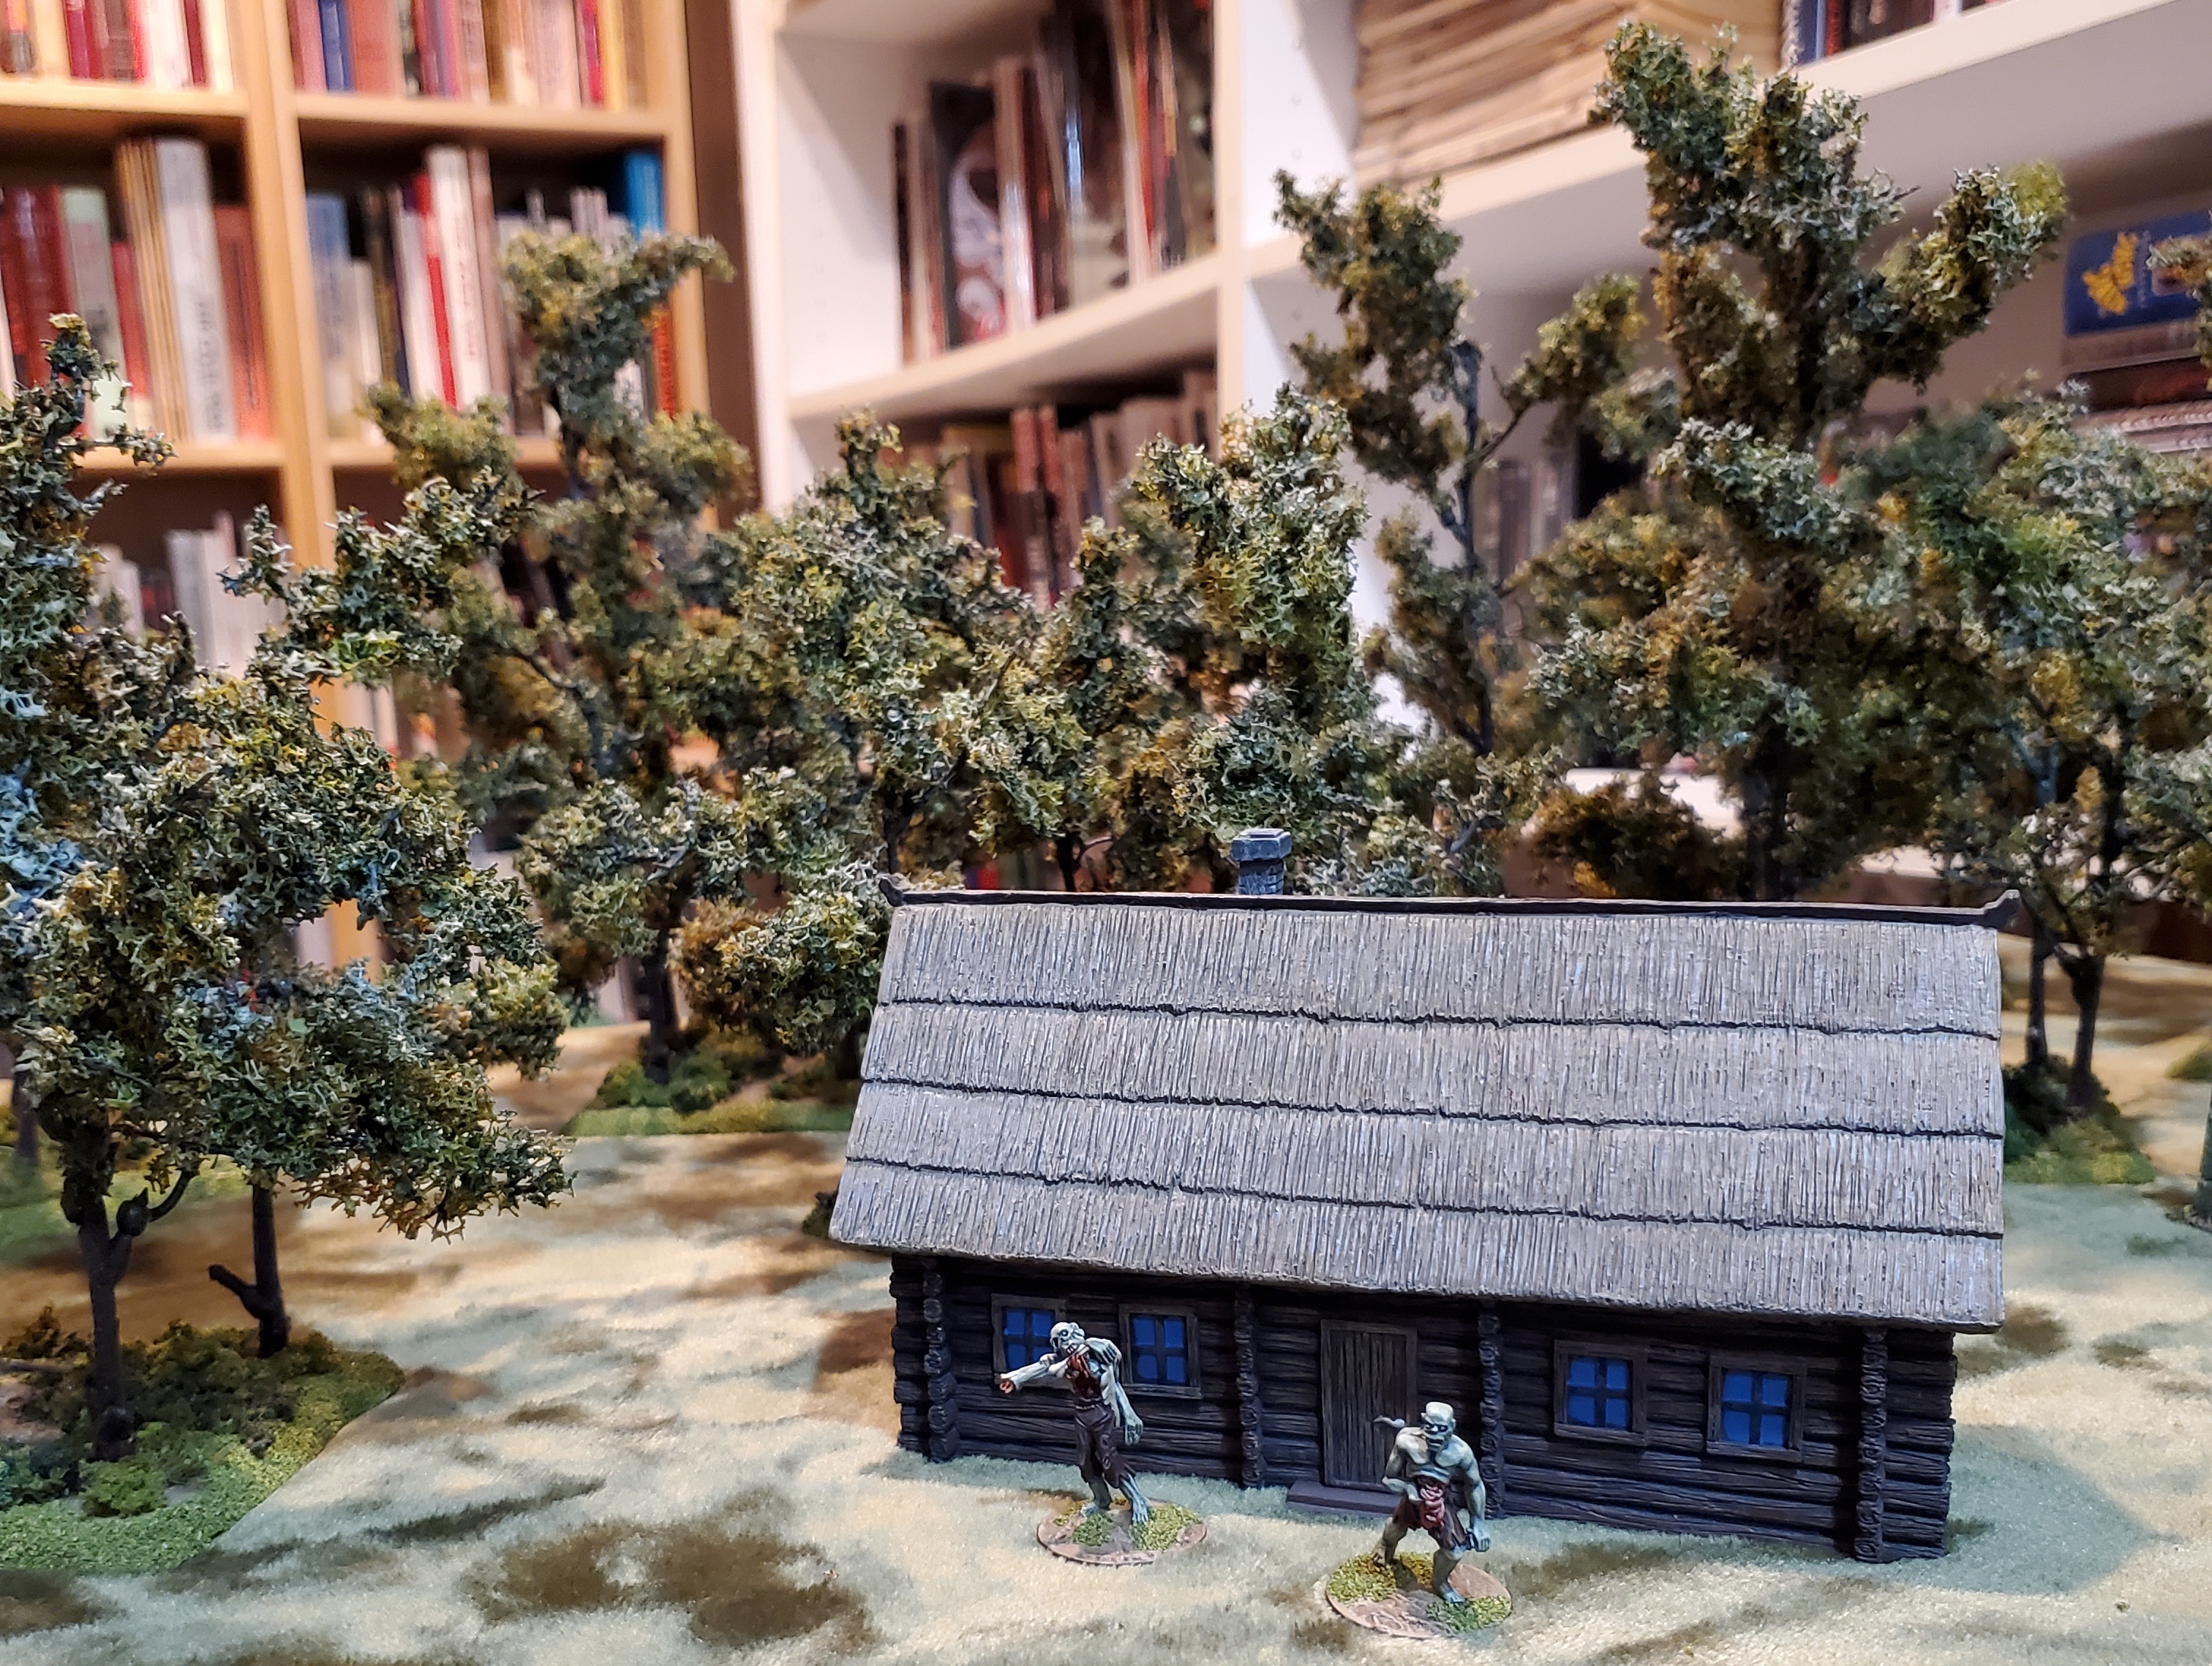
Mr. Brown and Zeke in over their heads amongst Renedra gravestones
|
 |
The "flock" is scrabble. After every battle bits of flock are gathered up into a shoe box sized plastic storage bin. Scrapings from flock boxes, miniature tree boxes added in makes for a lovely multi-colored, multi textured material perfect for this work. A few of my hand made tufts in there and a commercial tuft or two too.
|
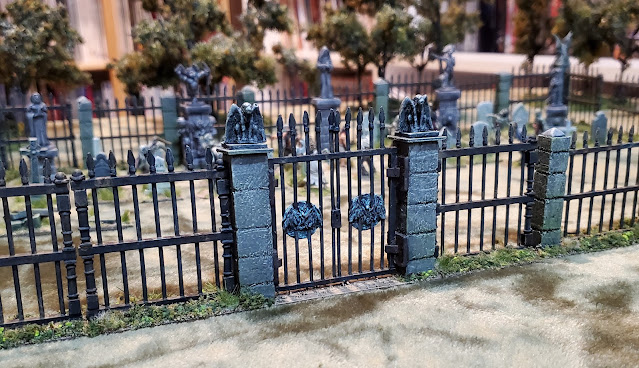 |
Are the gates backward? Should the bats face inward instead?
|
 |
| Deserted |
 |
Mr. Brown and Zeke taunt and rile up the inmates
|
 |
Reverse view of the gates
|
More cemetery pieces coming next - with all the differnt gothic and cemetery fencing I want to have a huge table of City of the Dead kind of terrain for several different horror themed encounters.
Thanks for looking - questions,
comments and followers are welcome and encouraged! I'm doing more and
more on Facebook so follow my page there too! https://www.facebook.com/One-of-My-Men-Became-Restless-100659928063858


