Tuesday, August 23, 2022

25/28mm - Citadel/Games Workshop - Walls and Fences

These used to be quite common and I've passed on them numerous times at stores and at cons. And then GW did it's dirty old trick and took them out of production. Whenever I find an old game shop I used to take a look and see if any were left around. At GW stores themselves I may have asked for some Chasseurs à Cheval de la Garde Impériale! They had no idea what I was talking about  - one guy told me they never made them! 

Not a year ago I went to GW's site on a lark and lo there it was in my search results. I should have bought two, but one arrived shortly later in a plain white packing pox sans the original photo box that many are familiar with.

Today, I look it up and the site comes up blank. Bah! I experimented on his set, thinking I could get another one and do it properly. So this is more dear to me than it was not 10 minutes ago.

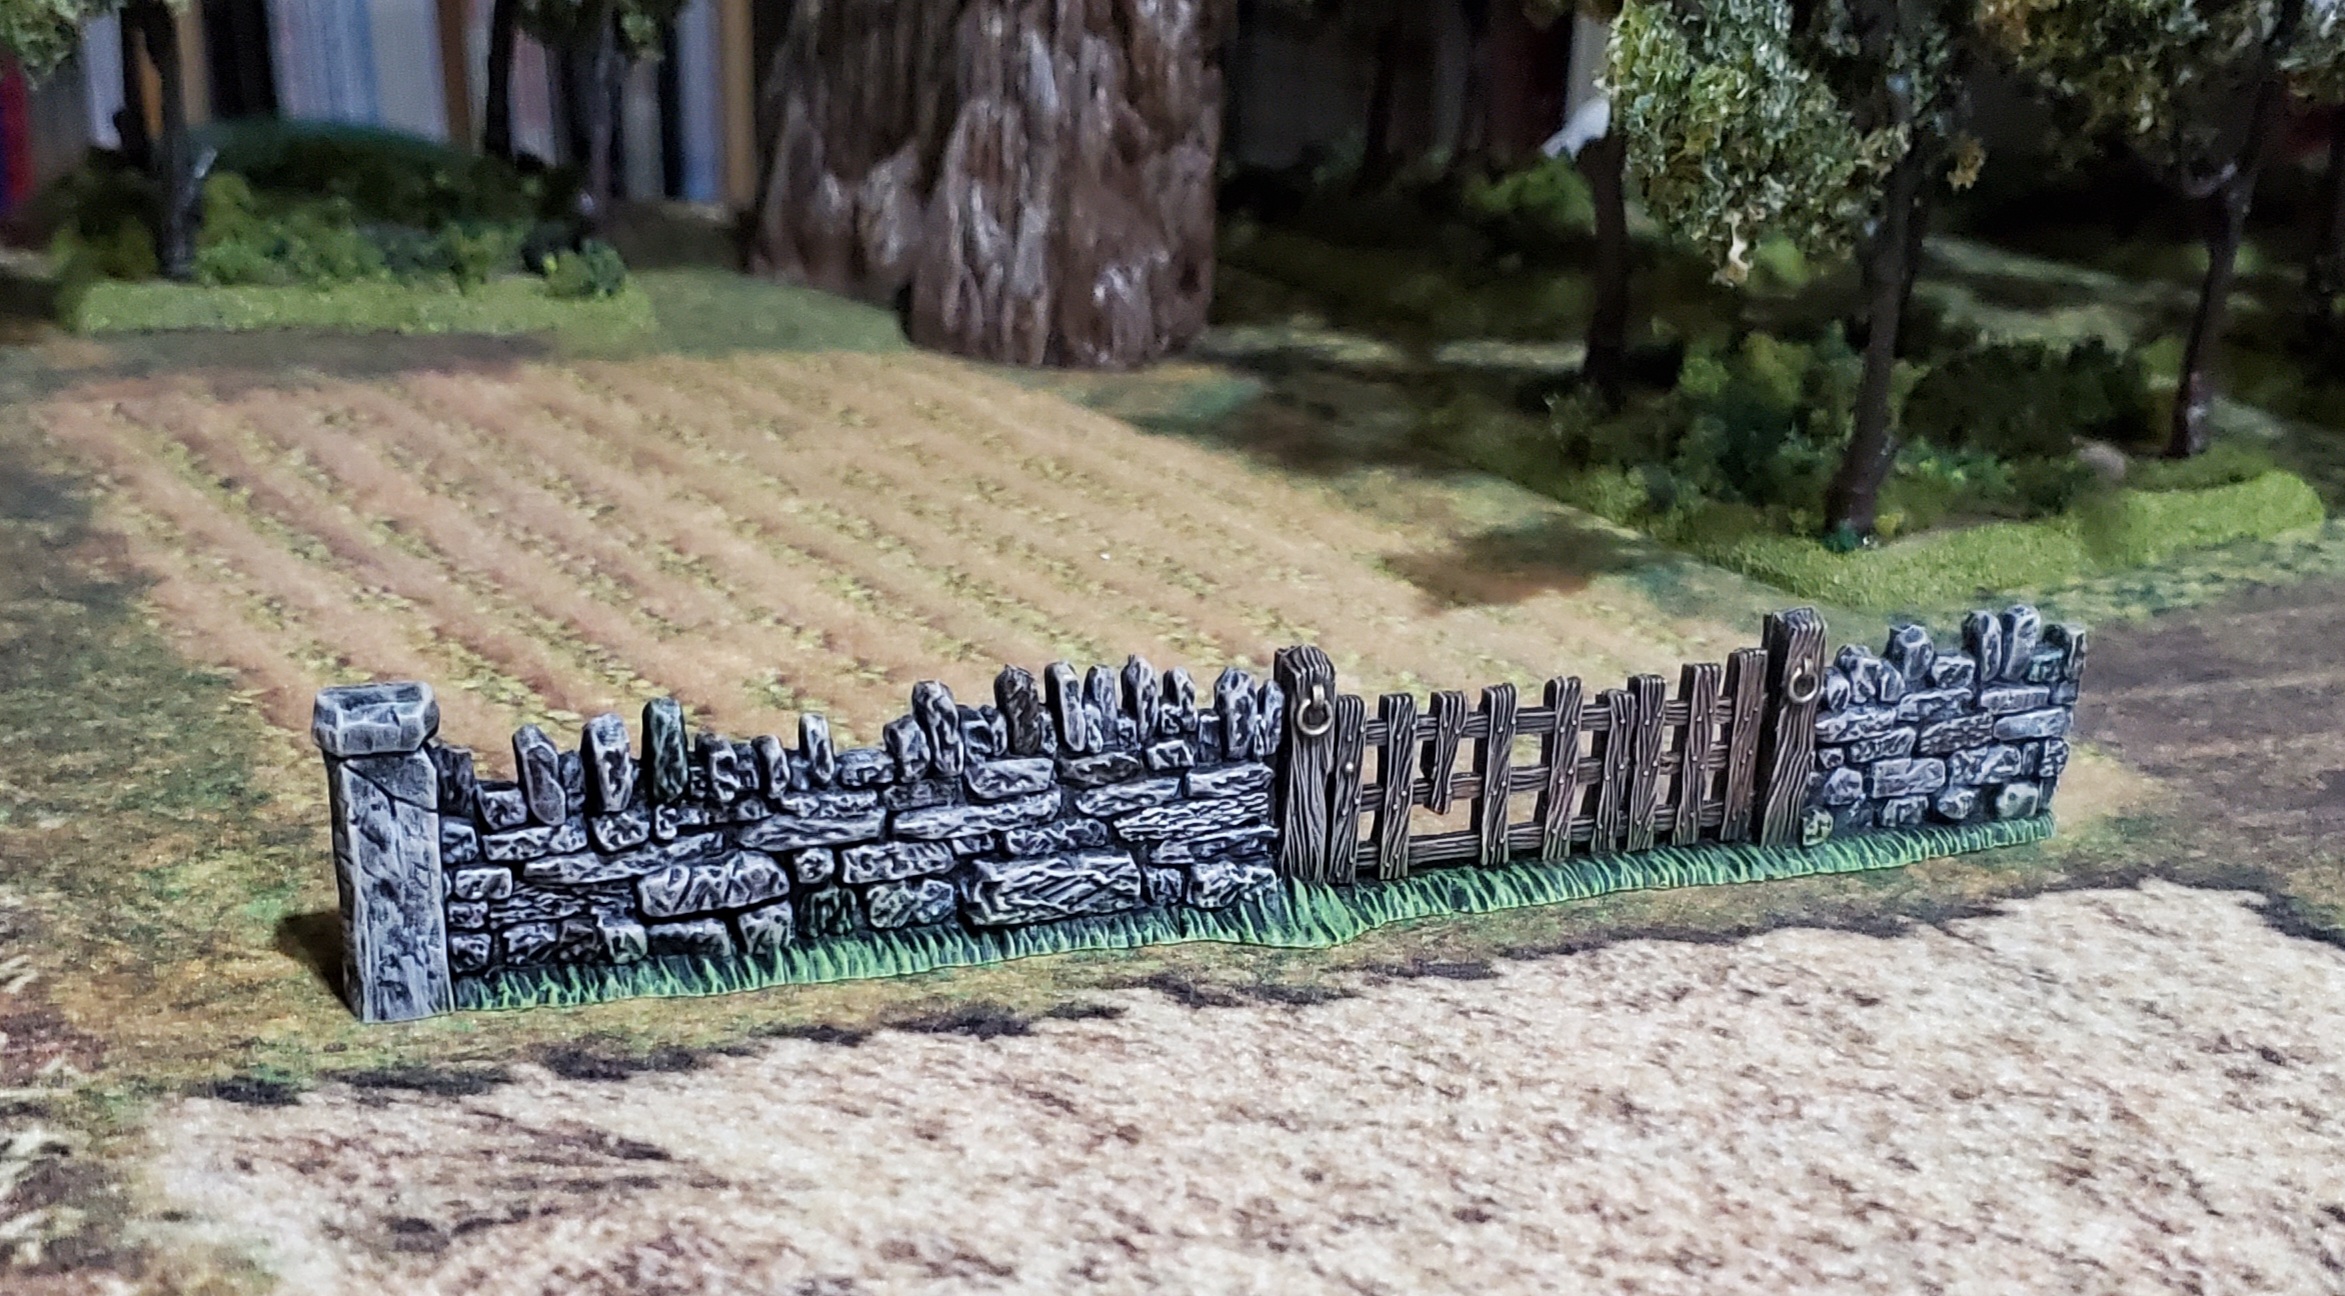
The "experiment" was to black prime then pre-highlight in white which my daughter helped with. This amounted to a pretty heavy drybrush that made me think of a wood cut with sharp, alternating lines of sheer black and white. 

This was followed by Citadel Contrast Colors - Basilicanum Gray for the stones, Wyldwood Brown for the wooden fencing, one of the yellows for the wattle fencing. They could have been finished at that point but there were a fair amount of details to pick out, ubiquitous skulls, iron rings, logs and misc.

Pumpkin folk by Reaper

I drybrushed over it all again with various highlight colors building up to close to white/tan to finish.

I like that you can make two enclosed spaces with this set - a small graveyard in the stone one, then something else in the wooden fences. Or you could just line a road withe either or both in combination. Pretty versatile. Those are a mix of Citadel, WestWind/Old Glory and other gravestones there featured already at this blog. 


The wattle bits were far two yellow in my original pass so I attempted to get more tan on there.


This method looked fine everywhere except for the sun emblem thing - the black/white didn't look great with a yellow Contrast but it's the part of the wall I'll likely leave off anyway for most games. The broken wheel came out ok though.

Maybe you saw the snotling under the log there at right - clever touch from GW of course.

All in all I'm pretty happy with this set and do regret not having another. 

Yet MORE walls and linear obstacles to come! I do everything but paint soldiers it seems.

As always, thanks for looking - questions, comments and followers are welcome and encouraged! I'm doing more and more on Facebook so follow my page there too! https://www.facebook.com/One-of-My-Men-Became-Restless-100659928063858

25/28mm Acheson Creations - Stone Walls

These came out well - and this was after a disastrous start! I really hate scrapping a project and starting it all over and it is a very rare occurrence, but this was the worst large scale modeling disaster I've ever had. Read on!
 

Started well enough. Gray prime with a lighter zenithal - maybe heavier than I had imagined. In retrospect, I didn't use primer but paint (I think). I think I drybrushed the top in another layer of white acrylic in a pre-hilighting experiment - you can see it to better effect in the Citadel walls and fence in the background there.


After a long session of picking out  the odd colored stones, decided to apply my trusty ink/medium/flow improver/water wash I had used to good effect on the other walls seen here. And right off the bat - a big fail! For some reason I have not 100% divined, the wash was repelled. Either the paint served as a repellent or there was residual soap? in the crevasses? Or as I idiotically imagined, the material itself being a form of resin, was unpaintable,

Maybe it was just one - oil from the fingertips? And, no. I tried three of four and the problem persisted on each. What on earth? I put 'em aside dreading to have to redo them and monked around with other stuff til I thought I would just wash them again with brush and soap figuring the paint that was there might come off leaving a flaky mess behind. But try as I might, the paint there remained, but something was clearly interfering with the adhesion. Since they held up well under scrubbing I gave in and painted them in a black spray primer instead of the gray paint.

So here we go again with the coloring applied by hand this time. For these lengths I leave a spot to hold onto then, next session, I reverse and hold the cured end to get the rest.

After this heavy dry brush of tan, I picked out individual stones again. Followed by another drybrush of something else.

That very same wash that didn't work before, worked perfectly unchanged this time. Big sigh of relief. At left are the washed/stained ones, with the right side on deck. My daughter thought they resembled teeth. Indeed. They are a bit unusual; the rounded edges imply old river stones. I don't love the large divots the tops have but, I spose rain and dirt accumulate in them so I left it --keeping the toothy impression.

More drybrushing, painted up the wood in ways I will not repeat again (a Mahogany Ink and Vallejo Old Wood make for a inharmonious marriage), and some flocking where required and, La!

At the end they came out just fine and will do much to help set the scene for the Colonial Horror project I dip into here from time to time. The mat is from Cigar Box, and the Pumpkins are from Reaper.


Believe it nor not, yet more walls and linear obstacles coming up!

 As always, thanks for looking - questions, comments and followers are welcome and encouraged! I'm doing more and more on Facebook so follow my page there too! https://www.facebook.com/One-of-My-Men-Became-Restless-100659928063858