I'll lead with the caveat: I attend from about 10am-4pm on Saturday - a tiny sliver of a much longer convention. My review can only apply to what I saw and heard, and I'd like the reader to not extrapolate my views to the entire show.
That said, I enjoyed my time there a lot. Lots of great conversations, people, things to see and do. However, my guess is that the event remains in steady decline if one of your principal attractions is to see/participate in large-scale, historical, showcase-style games centered around the convention theme.
Much of what was good wasn't new, and much of what was new wasn't great. Again, mind the window in which I attended. Logically, the middle of the day when everyone is off work should be the ideal time to visit, but maybe those events happened at night or the night prior. Regardless, you'll see from the pics that the volume of inspirational or aspirational games was dramatically reduced from prior years at this time - alarmingly so.
Yes, much space was given over to the Fantasy/Sci Fi crowd. I saw fewer kids playing historicals, and it appears I've missed the HAWKS room, and perhaps other things as well. I can't be certain.
Pros: Wally's - I actually found a few useful odds and ends. Vendor Hall - plastics and 3D printing have been transformative, and there were quite a few new and innovative vendors and new products. I arrived with no list of any kind and found my financials diminished in a fairly dramatic way.
Cons: the gaming: games that were actually being played appeared enjoyable, but there were so few of them, and so few were of the AWI. Among the best tables had nothing to do with the convention theme and others, impressive though they are, were also from other periods. I'll show instead of tell:
 |
| I always start in the Dealer Hall where I found these beauts: |
 |
| Perhaps the tanks were just laid there for convenience, or this is a time anomaly game. |
 |
| For AWI, this one is giving me Napoleonic vibes instead of loose files and a scramble. |
 |
| I always enjoy the Gettysburg Soldiers booth - lovely as always! |
 |
| This, the next, and the Renedra buildings after are from custom terrain builder New World Terrain. I had a nice chat with proprietor Cullen Wegman about terrain building. |
 |
| I have these on my workbench, so some fresh inspiration is most welcome! $175 - woof! A man's gotta make a livin'! |
 |
| This shot is more for my own reference than anything else; these look nice! I'll need to investigate further. |
 |
| I have these among many other kobolds in my collection - another one for my own reference. I'll likely do them all at once and like to have ideas around. |
 |
| I've painted these up myself. |
 |
| This one is also in my collection. |
 |
| After a pause for lunch, I shot the tables in the foyer/lobby. |
Pictures, this time, will be less exciting for a few reasons: there were fewer inspirational tables than ever, the tables that were occupied were crowded, and I had limited opportunities or space to shoot from. I found midway that some of my shots were in Portrait mode, so I had to scrap some of these for being out of focus. Again, maybe all the good "gee willikers" games happened outside my window? |
| This is the beginning of the Blazing Saddles game, only without the farts and the racism (as far as I could tell). Incidentally, Blazing Saddles is an anti-racist movie, indeed a blistering comedic assault on racism. If you haven't shared it with your kids, I'll assume you are a bad person. |
 |
| What used to be dedicated to Flames of War has been replaced with LotR, Blood and Plunder, and GW titles. This is a LotR one. |
 |
| I don't recognize this as my hobby. |
 |
| Nor this - though tremendous paint jobs! |
 |
| Especially not this! Oof. |
 |
| Competent Blood and Thunder tables |
 |
| Fine. Will you remember this table? Players were having fun. |
 |
| Some painting competition entries - it makes sense for HMGS to continue having these and to even expand upon it. More promotion - more community outreach, more celebration of the winners, etc, more promotion of that. This depends on the painters to submit models, though. I've often had to hunt around for this, and for many years had forgotten it was happening. |
There was a big cavalry vs. indians game starting as I was here, but not a single figure was yet placed on the table. I did not get back in time to see how things were progressing. On to the ballrooms!
 |
| Battle for White Plains - lovely! |
 |
| This greeted me upon entry. I see the holes for trees but otherwise have no idea what this. Someone worked hard on it, evidently. |
 |
| World War 2 is not my jam, but this table looks good! |
 |
| It's possible I was between games, but this looks awful. The outside hallway had unfulfilled opportunities, too. |
 |
| I had two contenders for outstanding tables - this was one of them - a Haitian revolt ripped from the headlines - marvelous craftsmanship! I love these jungle stands - amazing! |
 |
| Fantastic looking game! |
 |
| A table loaded with Charlie Brown's Christmas trees! |
 |
| This table was cool too - Napoleonic - but it was crowded - couldn't get another shot in. |
 |
| This was also a good one, a revolt set in New Mexico about a campaign I know nothing about. Fresh! Original! Exciting! Great craftsmanship! |
 |
| The best of the three Frostgrave tables. |
 |
| I don't love this. |
 |
| Better |
 |
| Around the bend for a Clash of Spears game. |
 |
| This has great potential but is unfinished. This reflects a gaming-first mentality where the game is everything, and modeling is secondary or tertiary. Not my hobby really. Maybe there's a story here, a death in the family prevented the completion of all the parts? But the show must go on despite countless unseen obstacles? |
 |
| Some nice pieces here, the rest being packed away. |
 |
| I like these pre-painted buildings |
 |
| Trenton! This one is the other contender for the best game I saw Saturday. Looks great! |
 |
| What's all this then? An orchard? Spare road tiles? |
 |
| The following were very crowded |
 |
| I don't get any particular enjoyment out of critiquing some of this stuff, but just look at this mess. I hope to god it was the best Napoleonic game ever played. I appreciate the time and effort that went into it. |
 |
| I went and bought all those Paul Hicks 100 Years War models few a years ago, because, well, Paul Hicks. But I have zero interest in playing mass battle medieval games where every other guy is carrying a banner. I'm boring myself even thinking about it. However, this looked like a great way to get those models into play without big thick ranks of heraldry and intricately shaped and decorated flags, pennants, banners, and all that clutter. |
 |
| On the way out, I saw this one-off nearly by itself. It's for Tremors - a giant earthworm kinda monster game, right? |
 |
| Anyway, I thought this setting was so atmospheric and cool as well as being well modeled. |
 |
| Just remove the telephone poles, and this could fall back to the 1870s - there's over a century of possibilities with this simple setup. |
Against our will, it seems like sci-fi and fantasy are here to stay, buoying up what used to be a mostly historical event. It's hard to conceive of such a thing that we can no longer do a big historical convention on its own. Looking at last year's post, 2025 was much better than this one, and I ran the same basic attendance play I always do, in and out on a Saturday.
One obvious response comes to mind: Why are you on the sidelines bitching about everyone else's contributions while doing nothing about it? It's up to you to be the change you want to see. There are the doers and the complainers; who is on firmer ground? Ya got me dead to rights! I suppose one feature of the age is alienation and a lack of strong support - my best gaming buddies are still in California. It's just too daunting to do this by myself. And I've yet to find a good group here whose company I can enjoy. I'm also too old to hang with the kids at the game stores, and their preferences are hard for me to accommodate despite my own expansive interests. There's a good essay in here I'll have to write sometime, but believe me, I do recognize my own failings on this issue.
So what caught your eye if you attended? Was my window the wrong one? Vendors reported the best sales were on Thursday. If Saturday is the worst day to attend, I'm leaving sadder than when I started! I know I missed HAWKS, what else?
Despite the mismatch of my own preferences with the offerings, I did have a good time. As I said, there were a ton of great conversations, lots of fun vendors, and the players of the games I saw all seemed happy to be there.
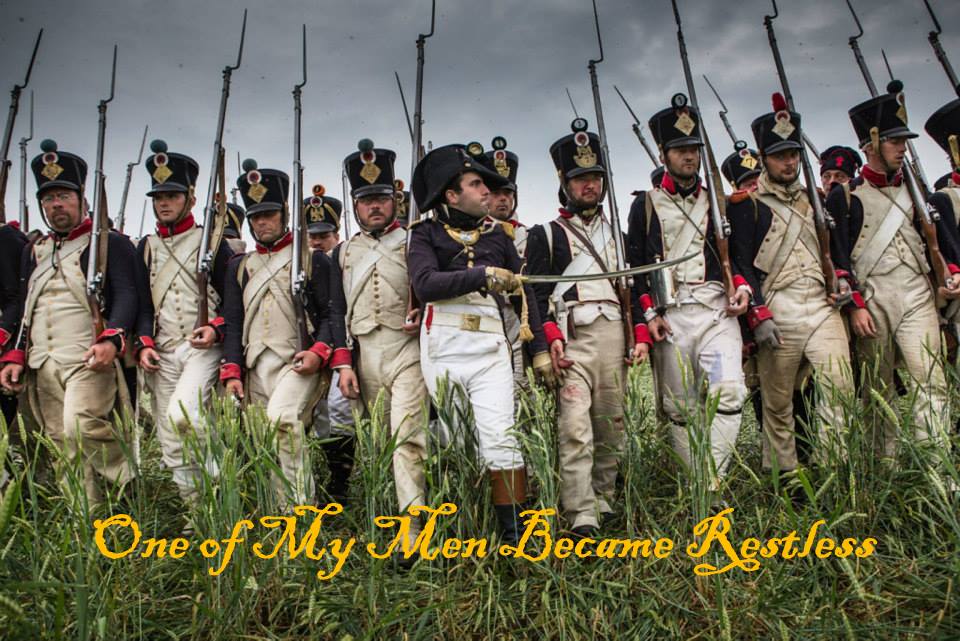
Anyway, share your thoughts, opinions or recriminations below. And as always, thanks for looking - questions, comments and followers are welcome and encouraged! I'm doing more and more on Facebook so follow my page there too! https://www.facebook.com/One-of-My-Men-Became-Restless-100659928063858


